Important: always follow the instructions from the manufacturer of your system and membrane to ensure a correct and safe installation. Here is our general recommendation.
Changing the membrane in a home reverse osmosis system is easier than it looks. Although the process can vary depending on the model, these are the general steps to install a reverse osmosis membrane in a typical system.
Before you start: what you need
- The new membrane, in a compatible size (1812 or 2012 in most home systems). You can choose one from our FILMTEC™ and MEMBROM® membranes.
- Sterile gloves (available from pharmacies).
- Kitchen paper and a product to disinfect the membrane housing.
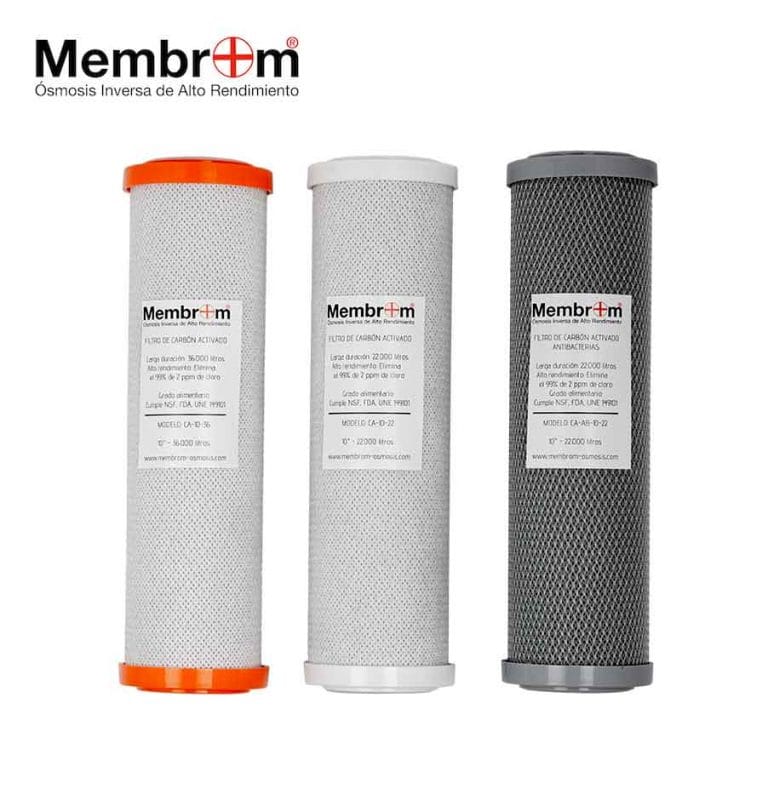
- If the filters have been installed for a while, it’s a good time to change them too: a filter + membrane pack makes it easy.
How to install a reverse osmosis membrane step by step
- Turn off the water supply. Close the valve that feeds water to the system and, if it has one, the pressurised tank valve. Open the reverse osmosis tap to depressurise the system.
- Find the membrane housing. It’s the cylindrical casing that holds the membrane. It is usually horizontal, above the sediment and carbon pre-filters.
- Disconnect the tubes from the membrane housing.
- Open the membrane housing by unscrewing the cap to reach the membrane.
- Remove the used membrane and disinfect the membrane housing. Rinse it well and dry it with kitchen paper so that no chlorinated water or disinfectant reaches the new membrane.
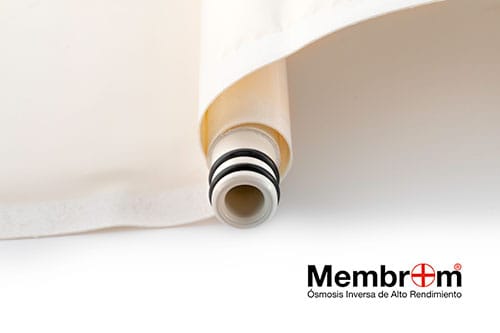
- Fit the new membrane wearing gloves. Unseal it wearing sterile gloves so no germs from your skin reach it. Insert the end with the two black seals first and press gently until it reaches the bottom and sits firmly. Screw the cap back on.
- Reconnect the tubes to the membrane housing.
- Turn the water supply back on and check there are no leaks.
- Start the system and let it run for a few minutes. The water quality will gradually improve until it stabilises.
Don’t drink the water produced during the first hour. After an hour of production, the water is safe to drink.
Why does the MEMBROM® 50 GPD membrane look smaller?
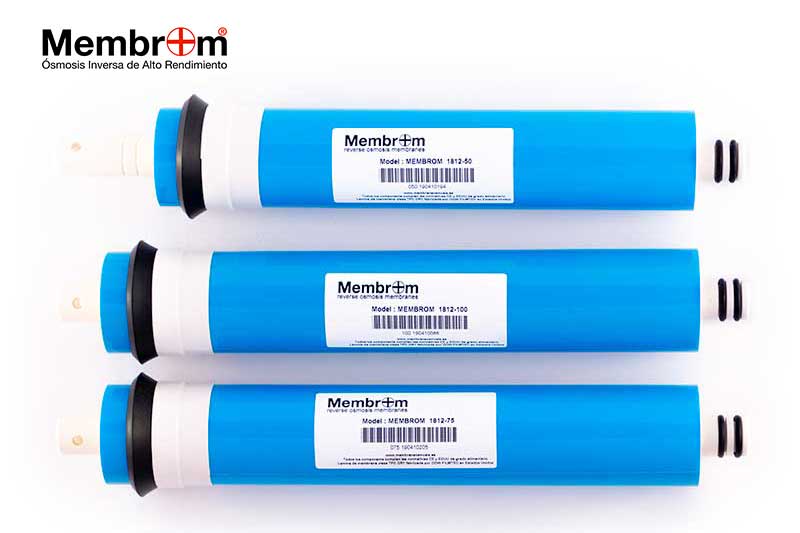
MEMBROM® membranes are the universal standard size for 1812 and 2012 membrane housings. Even so, the 50 GPD model may look smaller than usual from the outside. This is completely normal: MEMBROM® membranes use genuine FILMTEC™ sheet, which needs less surface area thanks to its exceptionally high performance.
Don’t worry: it will fit your membrane housing perfectly, produce more and better-quality water, reject less water and last much longer than any standard membrane. In this case, apparent size doesn’t matter.
After installation
To get the most out of your new membrane, check the water purity regularly with a TDS meter (we explain how in how to check the purity of the water produced) and change the pre-filters on time. That way you’ll extend its service life as far as possible.
If the membrane housing is damaged or old, you can also replace it with one of our anti-bacterial membrane housings.